14
NOVEMBER, 2016
With Thanksgiving around the corner, we wanted to share our favorite multicultural sweet treats to give your holiday a global twist! The holiday season is without a doubt a favorite time of year for the Kua Body Team. We love coming together with our clients and celebrating the idea of gratitude, something we all mean to do every day, but seem to lose sight of at times. While each team member is from a different cultural background, one of our unifying threads is that we are all foodies and love to eat.
We compiled our favorite crowd-pleasing dessert recipes from each of our different cultural backgrounds. Food is much more than nourishment; it is the vehicle through which we communicate sentiments, express our creativity and create memories. And it is in the sharing of these recipes below that keeps us connected to you!

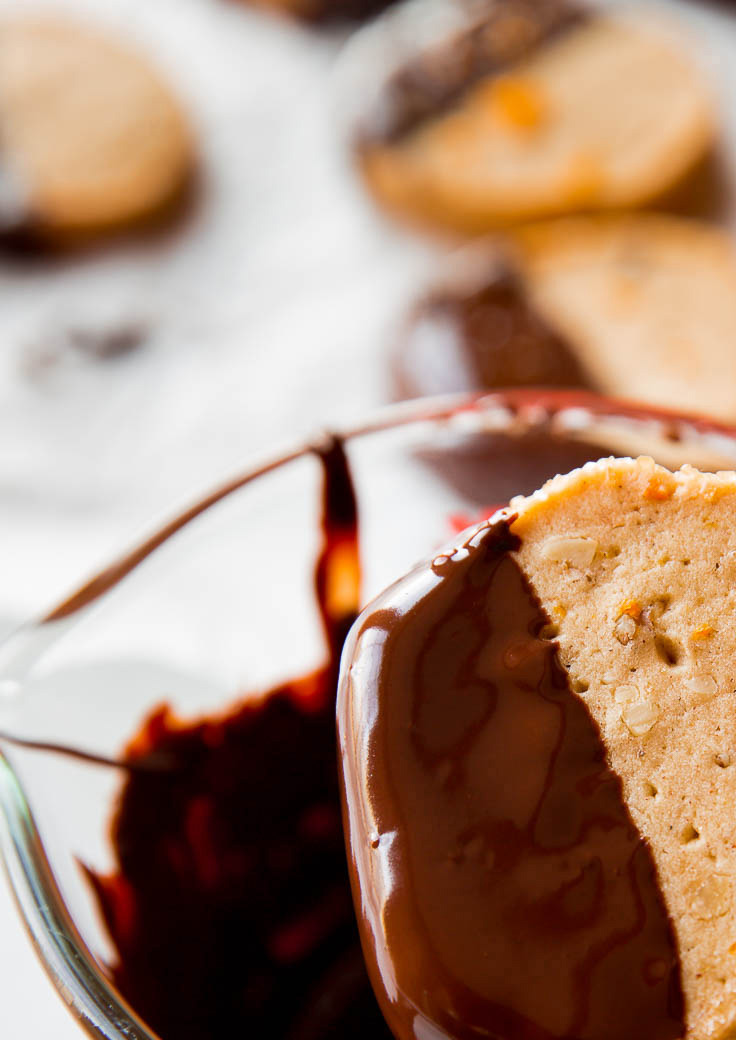
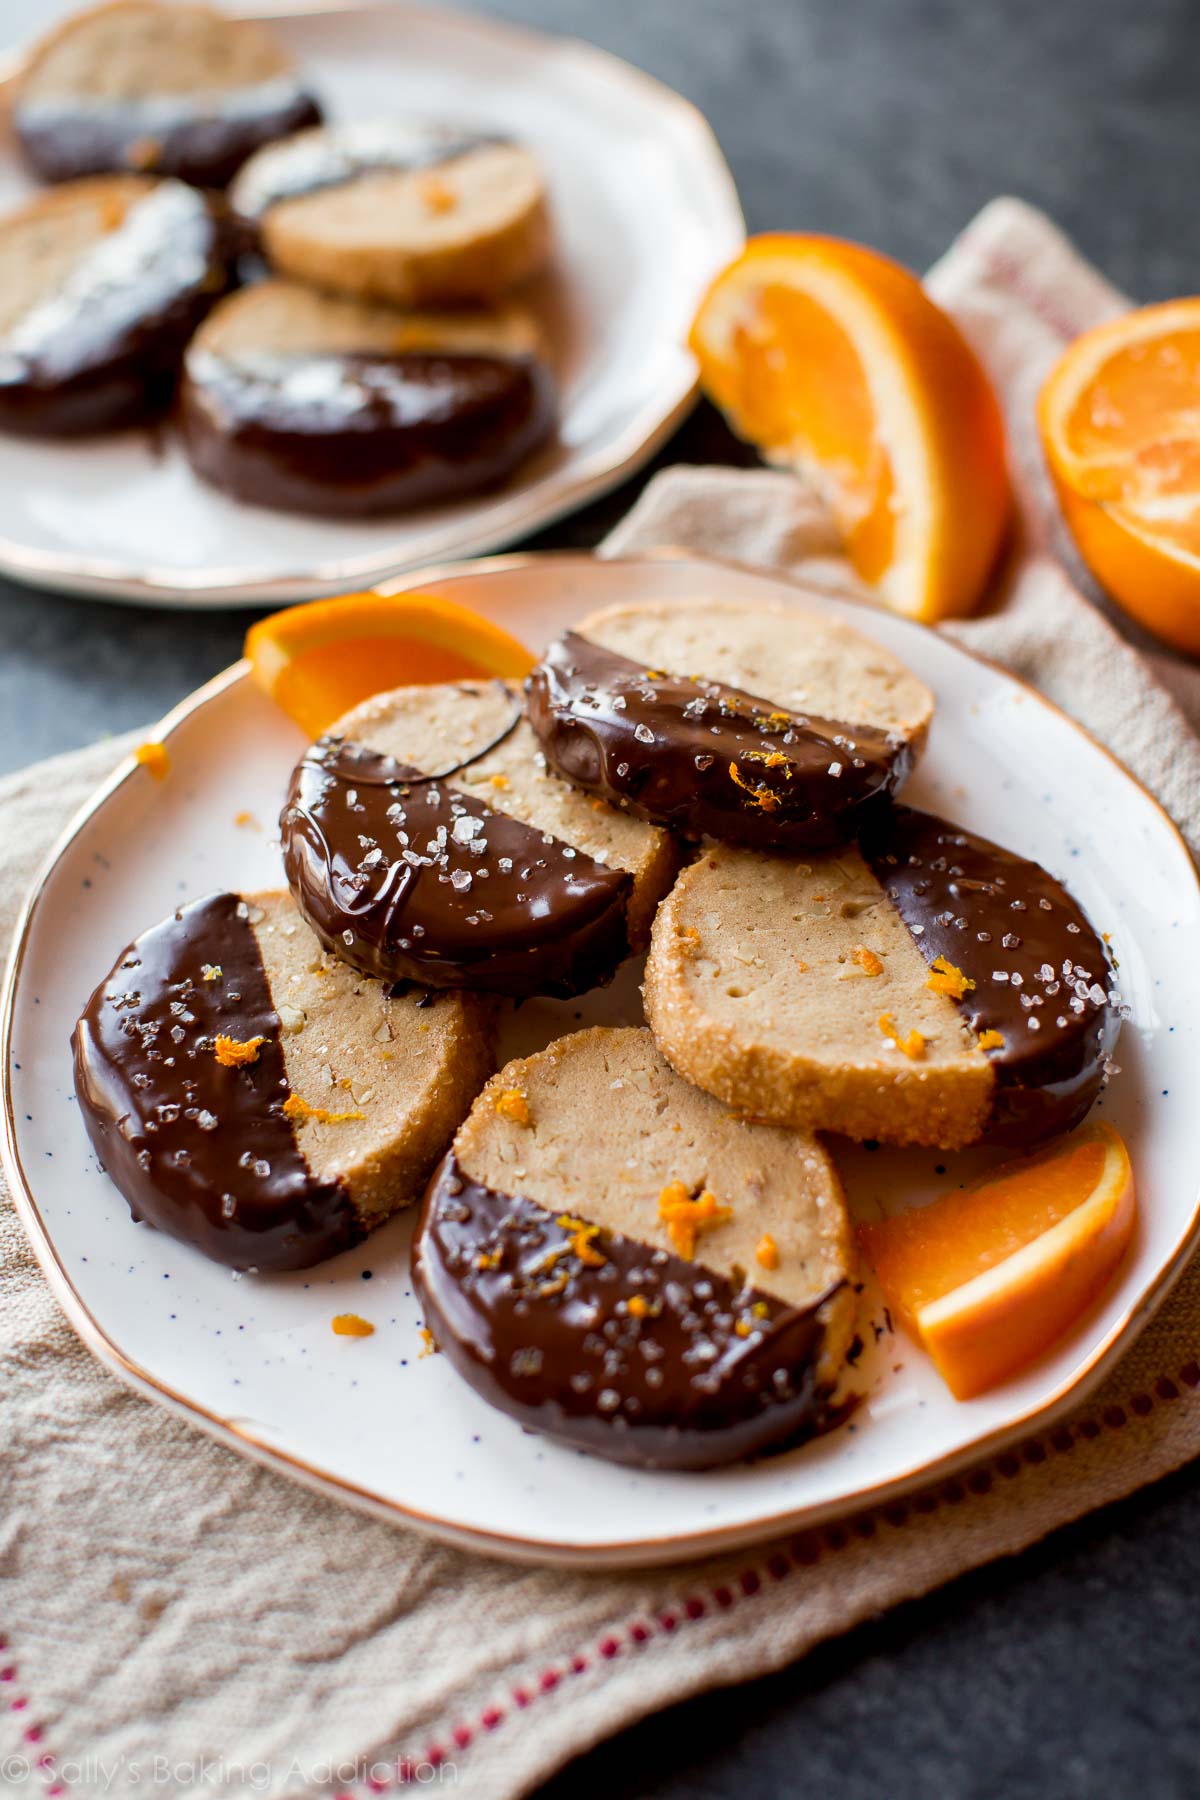
ANNETTE’S GERMAN CHOCOLATE DIPPED ORANGE COOKIES
Hallo! Fröhliche Festtage!
Baking Christmas cookies ranks high on my list of favorite childhood memories of the holiday season in Germany. For my siblings and me our time in the kitchen assembling ingredients, kneading dough, arranging raw cookies on the baking sheets and shoving one after the other in and out of the oven, was also the time our mother taught us Christmas carols enveloped in sweet fragrances of delicious aromas and happy holiday expectations. Singing is now one of my many passions, and you can come enjoy Christmas carols with my choir Symphony Silicon Valley Chorale on December 10th. ENJOY!
Preheat oven to 325°F
Ingredients
1/2 lb. butter, softened
1/2 cup confectioner’s sugar
2 cups flour
1/2 tsp salt
1 cup candied orange peel stored in syrup*, drained and chopped
1 orange, zest of
1 tbsp orange juice
1/2 tbsp vanilla extract or 1 sachet of granulated vanilla sugar
8 oz. semi-sweet chocolate, chopped
*When stored in simple syrup orange peel will have a more pleasing texture.
Directions:
Beat the butter and sugar until creamy and smooth. Beat in the salt and flour until large clumps form. Add orange peel, zest, juice, and vanilla. Mix well and press the dough into a tight ball. Shape according to how you want your slices to come out (rectangles, squares, rounds, wedges), wrap in plastic wrap and refrigerate for a couple of hours. Slice the dough to 1/4 inch thickness and place on cookie sheet with enough space between for spreading. Bake 25-30 minutes or until golden. Let cool completely on cooling racks. Melt chocolate gently. Dip cooled cookies in chocolate or drizzle with chocolate and let cool until chocolate sets.

JENNIFER’S MEXICAN HOT CHOCOLATE

Feliz dia de Accion de gracia!
My family and I love making this delicious, authentic Mexican hot chocolate all season long! Take a sip of Mexican hot chocolate and step back in time. The semi-bitter cinnamon flavored chocolate drink made from cocoa, cinnamon, and chiles, traces its history to the Maya and Aztecs. The Mayans and Aztecs started cultivating the cacao tree and used the ground cacao beans for a chocolate drink. To cover up its bitter flavor, they added native spices and herbs like vanilla and chile to the mixture. Once the Europeans arrived with sugar, the process for making chocolate evolved to include sugar. For the most authentic chocolate, use Ibarra’s Chocolate from your local Mexican Grocery store…trust me – its worth it! For an extra kick my family and I love adding a 1/2 a teaspoon of cayenne pepper or a crushed dried red chili to the mix!

Ingredients
Use 1 bar of chocolate for every 1/2 gallon of milk.
1 teaspoon dried chipotle chile
1 teaspoon dried guajullo chile
1 teaspoon of Cayenne Pepper
1 teaspoon cinnamon
Directions:
Combine spices and chiles in a bowl and grind with mortar and pestle or spice grinder. Pour milk into pot and simmer while stirring. Place chocolate bar into milk and bring to a boil – continue stirring while chocolate melts. Turn heat to low until chocolate completely melted. Serve in front of a fire with friends and family – with fresh whipped cream as an added treat!
Salud!

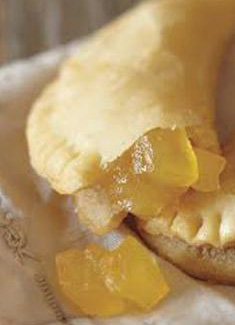
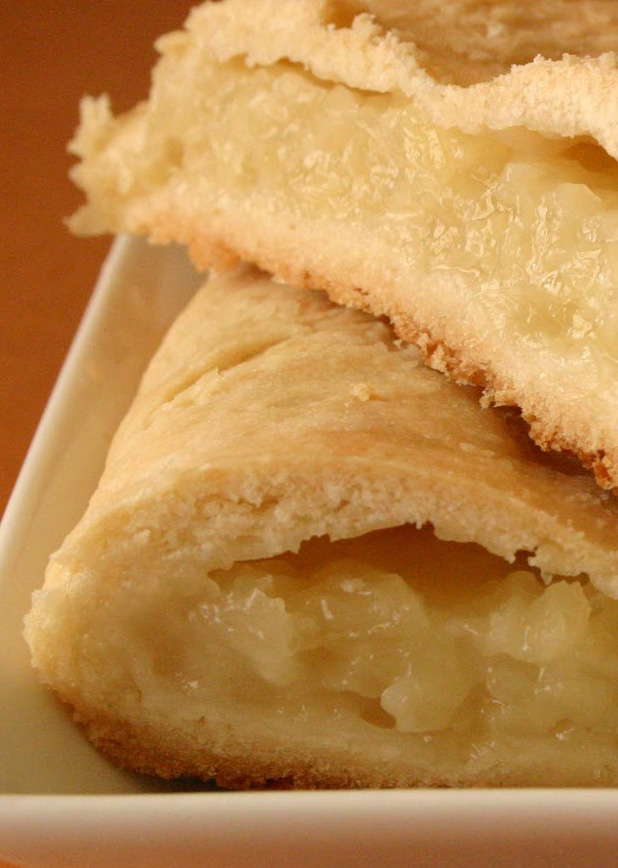
UPUIA’S SAMOAN PAIFALA – PINEAPPLE HALF MOON PIE
Manuia le Aso Fa’afetai!
In memory of my late Auntie Lucy who passed away a year ago, I’m dedicating this post to her. (This isn’t her actual recipe — it’s top secret. ;-D)
Growing up my Auntie Lucy was known to make the best Pineapple Half Moon pie in our family and probably the entire Bay Area! As a little girl, I remember helping her prepare the crust, filling, rolling out the dough and putting it in the pan, and then adding the fork marks! These were a hot commodity in our family. If you didn’t get “Auntie Lucy’s Pie” you missed out! The crust had just the right amount of sweetness, delicate with hints of butter, and the filling Ooo so creamy with yummy pineapple. Thank you Auntie Lucy for your sweet legacy.
Samoans are really big on any reason to get together and feast, not just for the special festive occasions. For example, Sundays, the day of rest, are when local communities get together for to’ona’i or a very nice long afternoon meal together. At a meal like a to’ona’i, you might find Samoan dishes like Palusami, Pua’a, Povi Masami, and of course some Paifala!
Preheat oven to 375°F. Bake 30 to 35 minutes.
Ingredients
Filling:
2 cups drained crushed pineapple
1 cup (200g) sugar
½ cup (120ml) milk
⅓ cup (30g) cornstarch
⅓ cup (80ml) syrup from crushed pineapple
Piecrust:
3 cups (375g) flour
2 teaspoons baking powder
⅓ cup (75g) butter
1 cup (240ml) coconut milk pinch salt
Directions:
Make the filling ahead and give it ample time to cool to room temperature. Simply mix the pineapple, sugar and milk in a saucepan and heat until simmering. Dilute the cornstarch with the pineapple juice and add this to the pineapple mixture. Stir it over low heat for 1-2 minutes until the mixture thickens. Remove from the heat and cool.
For the piecrust, throw everything in a bowl and mix. When it starts to come together, turn it out onto a lightly floured surface and press it together. Don’t knead this dough or it’ll be chewy and tough.
Cut your dough into 5 equal pieces. Roll each piece out into an 8” (20cm) circle. Put some of your cooled pineapple filling into the centre. But pay attention to how much you put in – too much and the pie will burst in the oven, too little and people will complain. The recipe above makes just enough for five pies.
Lightly wet the edges of the pie crust with water, and then fold one half of the pie over the other. Press the edges together with your fingers or, if you wanna be fancy, with a fork. Pierce the top of the pie several times then bake until light golden. Remove from the oven and cool.
Fa’afetai Lava! — Thank you very much!

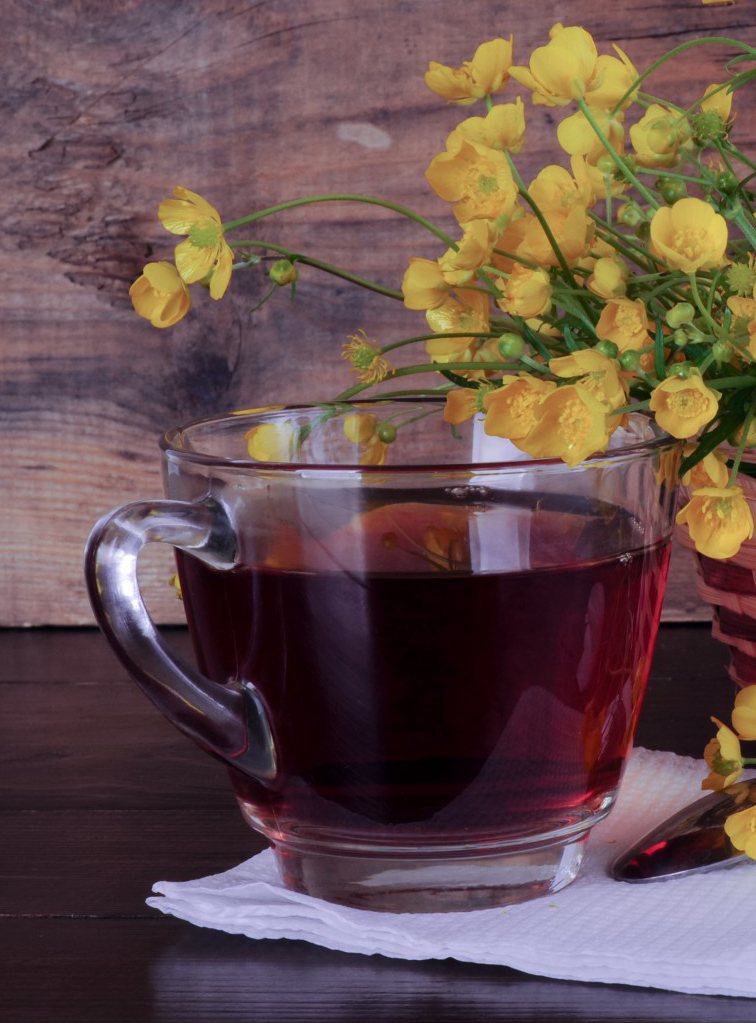
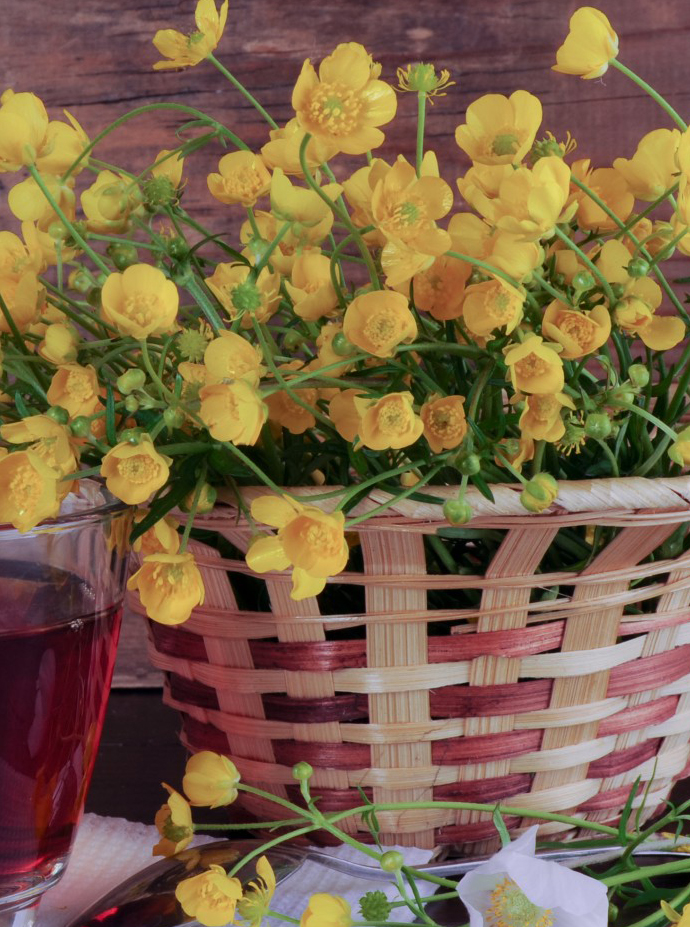
LUCY’S KENYAN CHAI
Jambo! Karibu Chai!
Tea is the number one export for Kenya. Kenyans love tea and it’s at the very heart of every household. “Karibu Chai” is uttered probably millions of times each day. It means “welcome to tea”. We have tea for breakfast and all day throughout. For almost all, it’s how you start your day and it’s how you end your day. It’s how you invite people into your home for a formal or casual visit. Most Kenyans use loose tea and make it in one big pot with milk in it.
Directions:
In a pot, add 2 cups of water and 1 cup of milk. Set on stove on high heat and bring to boil. Add 1 Tbsp of loose black tea leaves. Return your pot on the burner on low and let the milk mixture boil with the tea leaves for about a minute. The longer it boils, the stronger the tea, so make it to your liking. I prefer a strong cup of tea so I tend to let it boil for about 2 minutes. When your tea is to your liking take it off the stove. Put a fine strainer on your tea-pot and strain the tea. Serve with or without sugar.
May your teapot always pour too many cups!

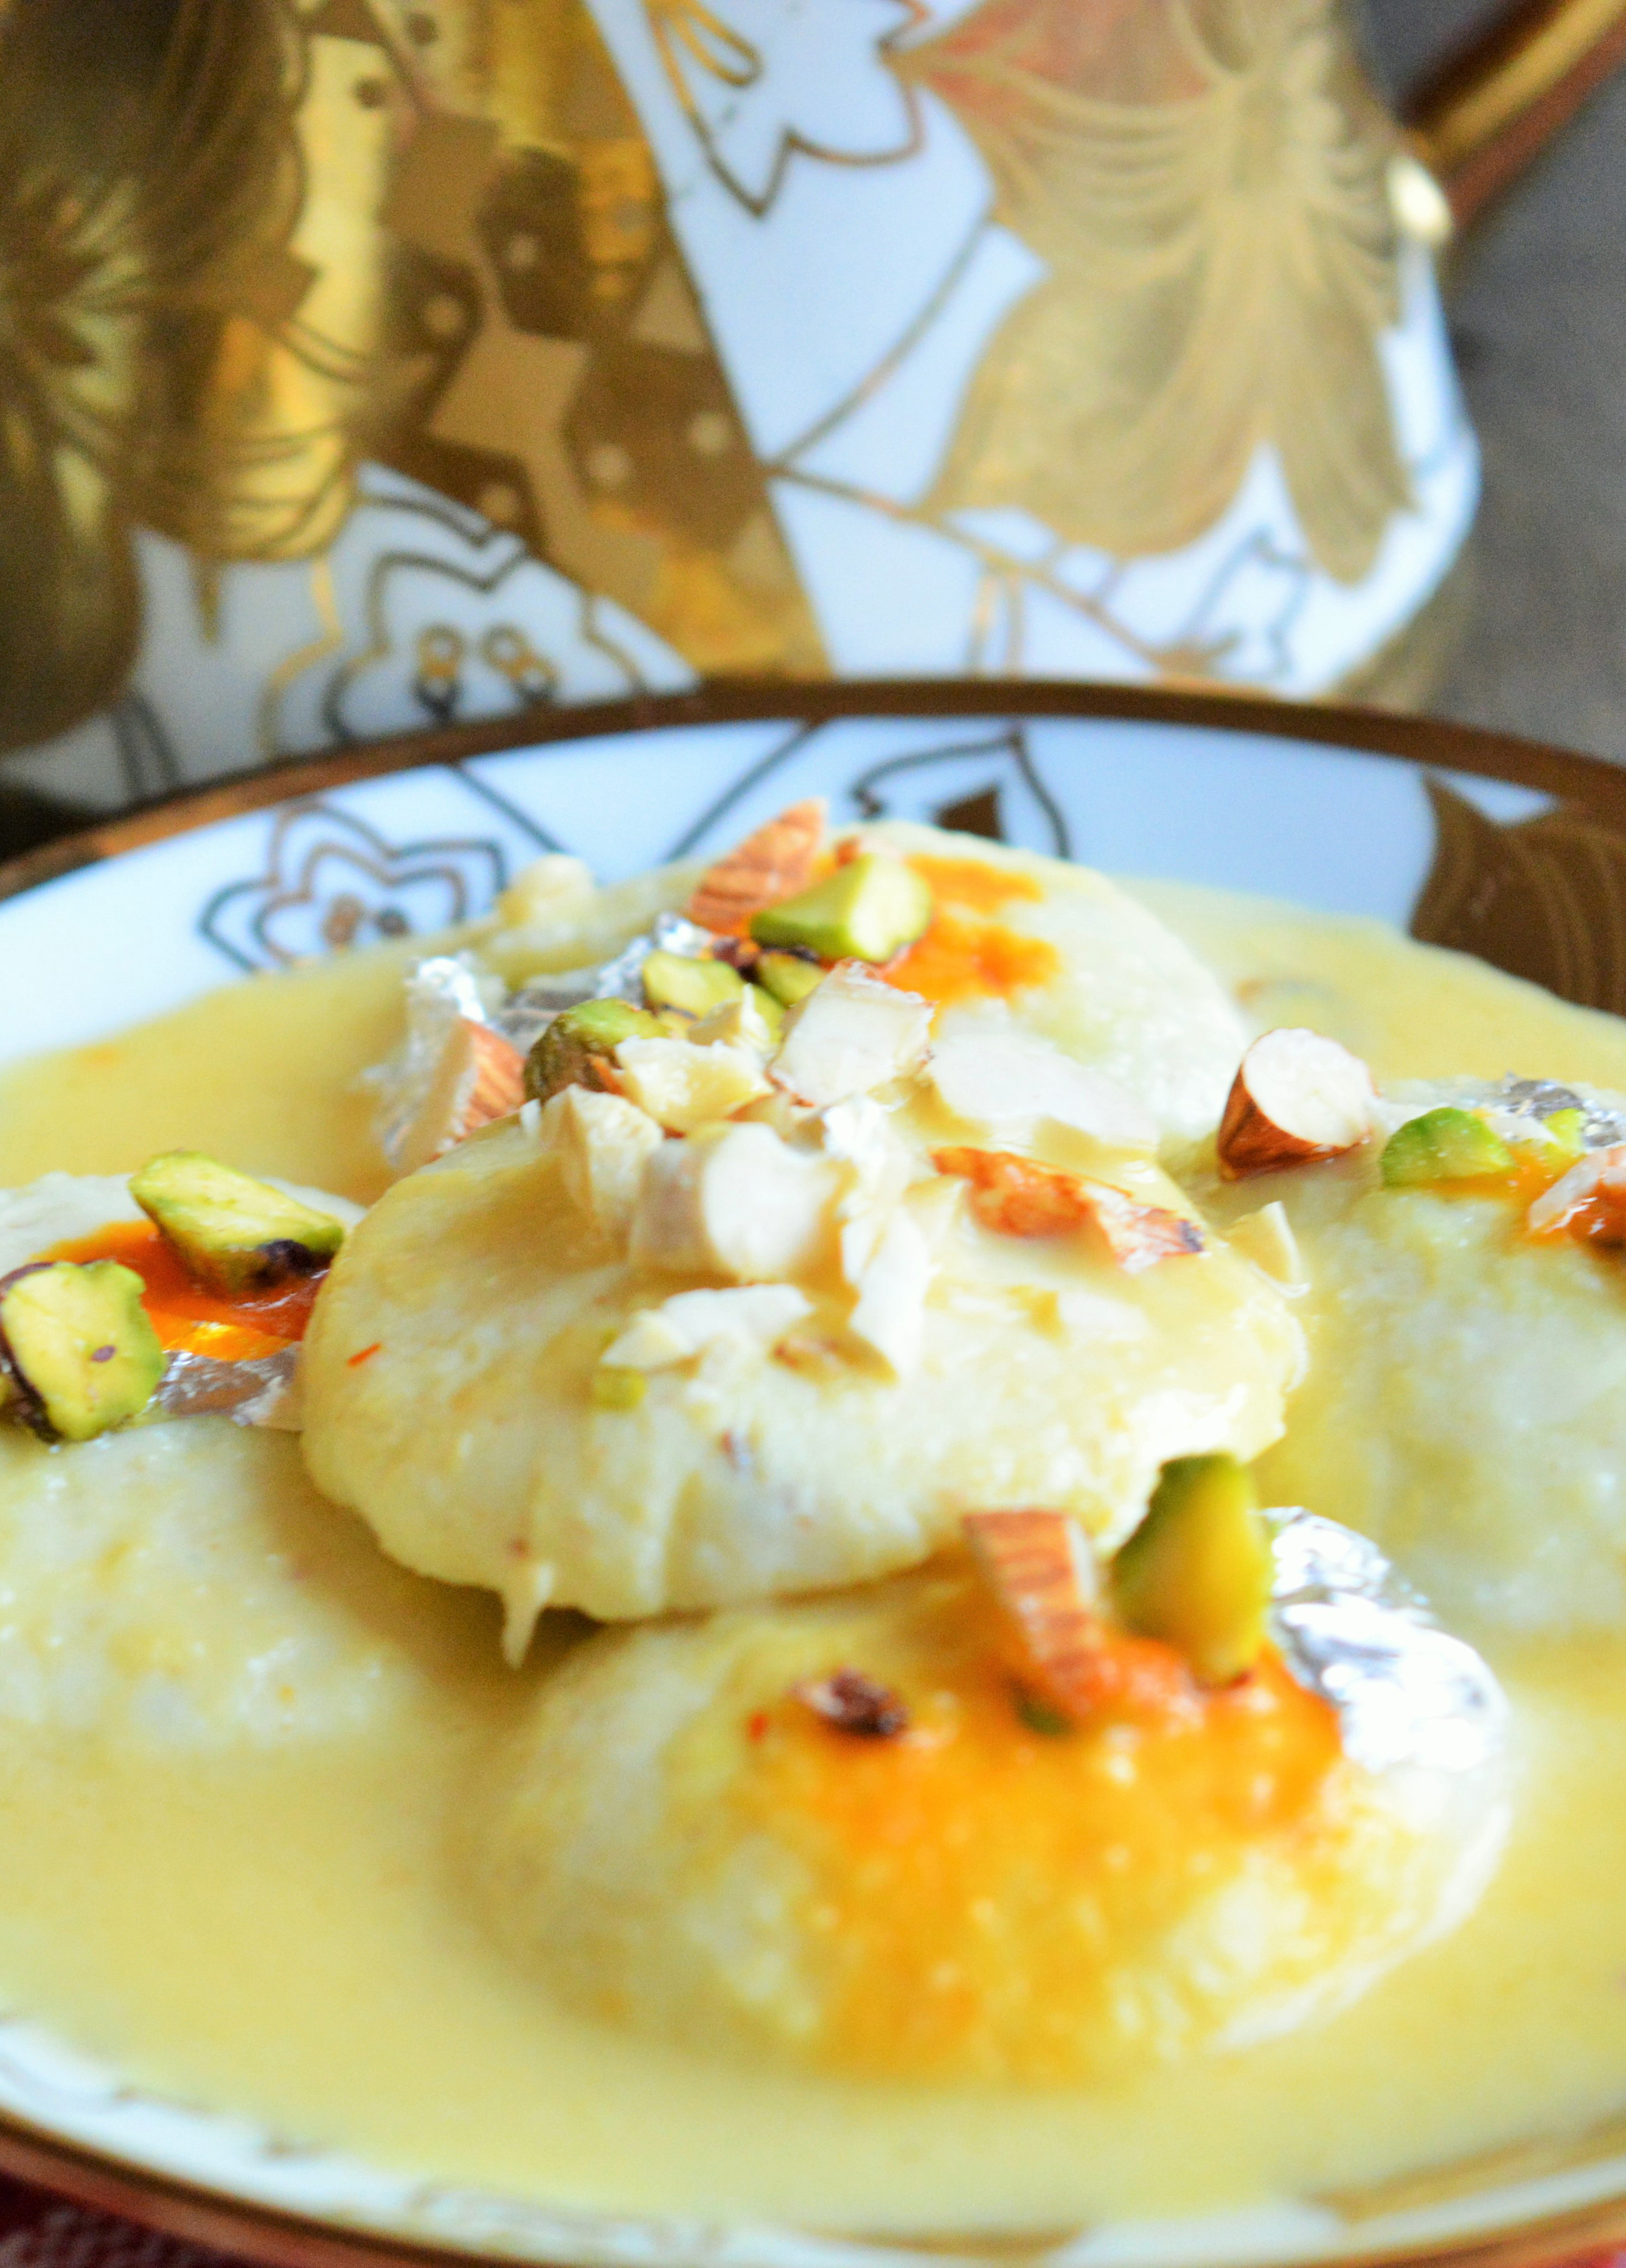
ASHA’S DIWALI RASMALAI
Diwali Mubarak!
I’ve always loved celebrating Diwali – an Indian festival which spiritually celebrates the victory of light over darkness and knowledge over ignorance. Diwali means the complete celebration and welcoming of the good omen in our lives, which starts with cleaning of the house, removing old things and buying something new as replacement. It is about decorating our houses with multi-hued lights. It is about decadent sweets and food which we exchange with our loved ones. I love cooking a full feast on Diwali, dancing and inviting my friends and family over to enjoy the feast!
By far my favorite treat that my family always begs me to make is Rasmalai – a Bengali delicacy and one of the best Indian sweet desserts. It consists of soft paneer balls immersed in chilled creamy milk. Rasmalai is made with homemade cheese known as “paneer” or “chana”. Instead of being soaked in sugar syrup like Rasgullas, Rasmalai is soaked in sweet, flavoured milk. It is also a gluten free dessert, so those who can’t tolerate gluten can have it with joy!
Ingredients
For Rasgulla sponges
5 cups full fat milk
2 to 3 tbsp lemon juice, add as required
1 cup sugar
5 cups water
2 teaspoon semolina or 1 teaspoon cornflour
1 tbsp Kewra water
½ tsp Cardamom powder (Elaichi powder)
For Ras (Milk Syrup)
750ml / 3 cup full fat milk
7-8 Green Cardamom, peeled and pounded
½ teaspoon Kewra essence /rose water
2 generous pinches Saffron/Kesar
A few blanched almonds
Sugar to taste
A few pistachios, finely chopped
Silver leaf to garnish
Directions:
First prepare the thickened milk (ras) for rasmalai. Place a heavy bottom deep pot on medium flame. Add 2 teaspoon water. Now add 3 cups milk to pot and boil. Adding water to pan ensures that milk will not stick to the bottom. Bring the milk to a boil. Add saffron, pounded green cardamom and blanched almonds. Simmer the milk on low heat. Stir every 2 to 3 minutes to prevent boiling. Add sugar to taste and simmer until the milk reduces to half the quantity. Set this aside to cool.
For Paneer
5 cups full fat milk
2 to 3 tablespoons lemon juice, add as required
½ teaspoon Cardamom powder (Elaichi powder)
Step 1. First pour milk in a pan and allow it to get to a boil. Meanwhile you can lineup a cotton kitchen towel or muslin cloth in a strainer. Stir the milk occasionally so that it doesn’t stick to the bottom.
Once milk comes to a boil, turn the heat to minimum lowest or switch off the gas because we don’t want chena to become hard. Then add 1 tbsp lemon juice in the centre and stir, repeat this for 1 time more.
Step 2. Now milk must have curdled, if not, you may repeat the same for 1 time more. Once milk has curdled properly, pour the separated cheese and milk into the lined strainer.
Step 3: Wrap the curd in a cheesecloth, rinse under cold water, and squeeze well. This process takes out the sourness from the lemon.
Step 4: To take out the excess water squeeze the cloth, or press the wrapped paneer under a heavy pan for about one hour. Taking the right amount of water out of the paneer is the most important part of this recipe.
Step 5: Once the paneer is drained, place on a dry, clean surface and knead the paneer for 3-4 minutes until it is almost rolls into a smooth soft dough.
Step 6: Knead the paneer by dragging the palm of your hand hard on the paneer. Keep scooping it back to together and knead more. Divide the dough into 12 equal parts and roll them into smooth balls. To make the balls apply some pressure at first and then release when forming the balls, lightly press to make an about 3/4″ patty shape.
For boiling sugar syrup
1 cup sugar
5 cups water
Step 1: Mix the sugar and water in a pot and bring to a boil.
Step 2: Add the paneer balls, turn heat down to medium and cook for about seven minutes. Paneer balls should double in size during this process.
Step 3: Take out the patties from the syrup and squeeze them lightly, and keep aside.
Add the paneer patties to the thickened milk mixture. Served chilled (I love it hot too!)
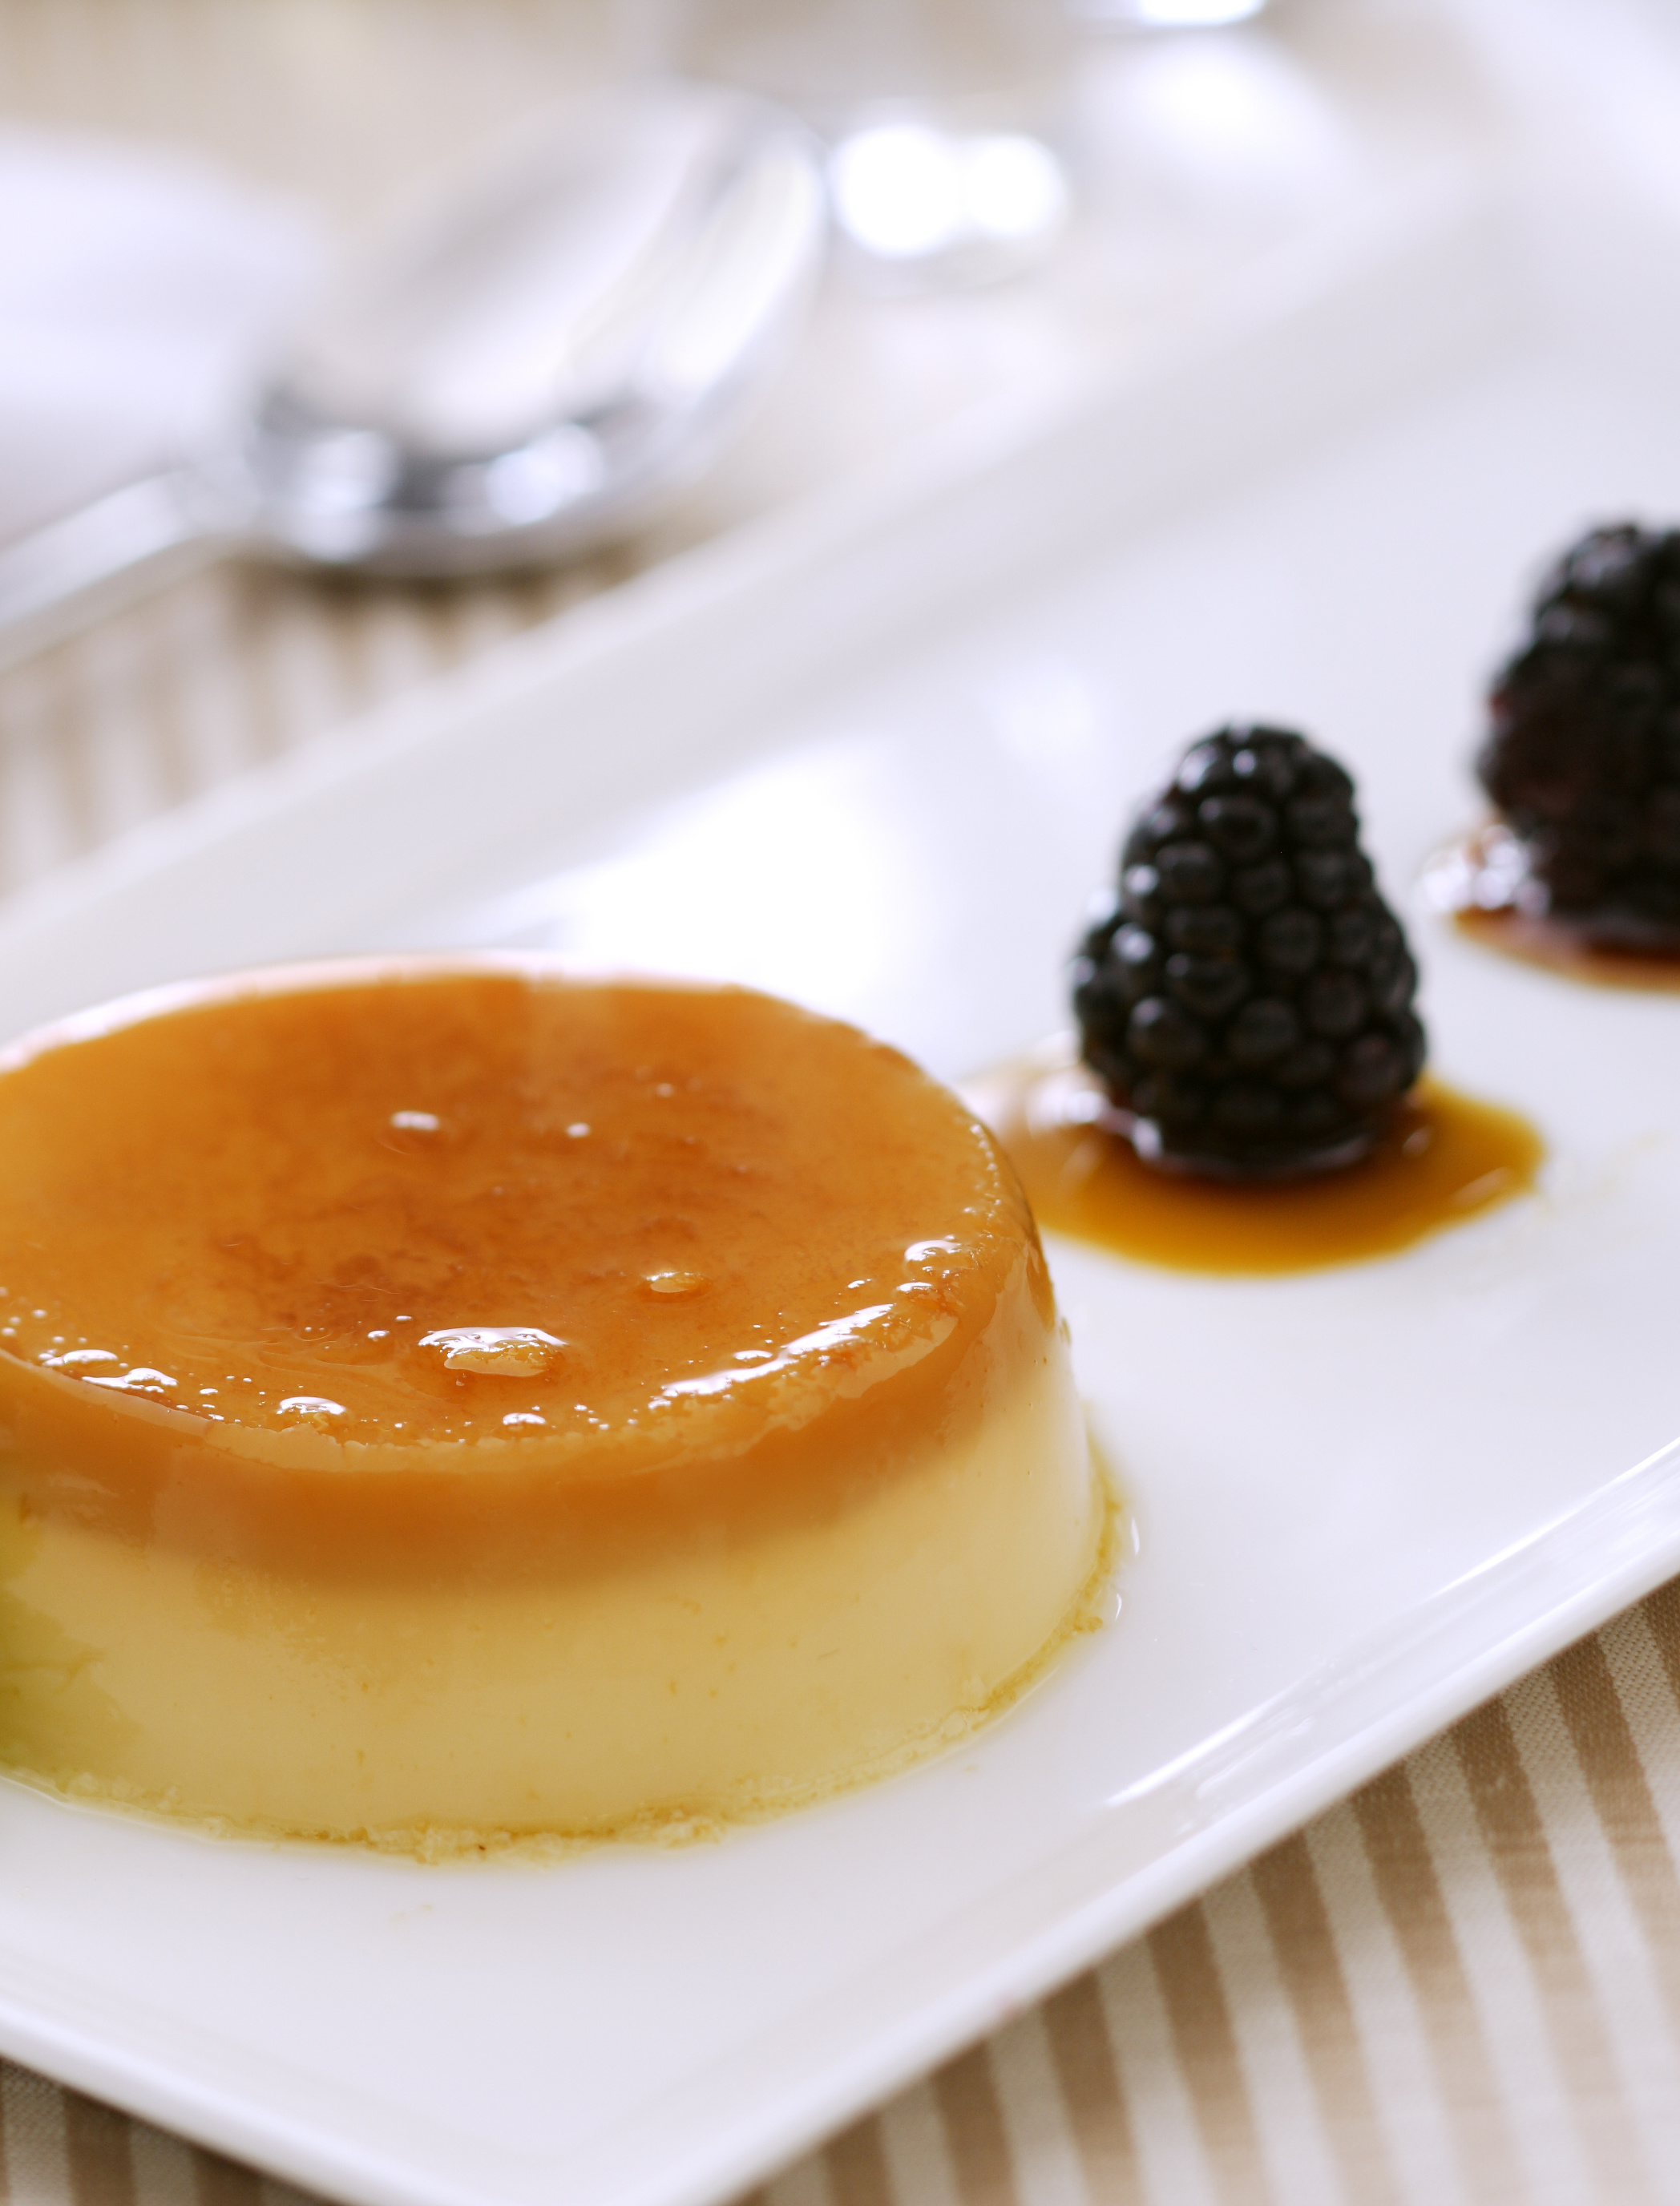
 JULIANA’S BULGARIAN CREME CARAMEL
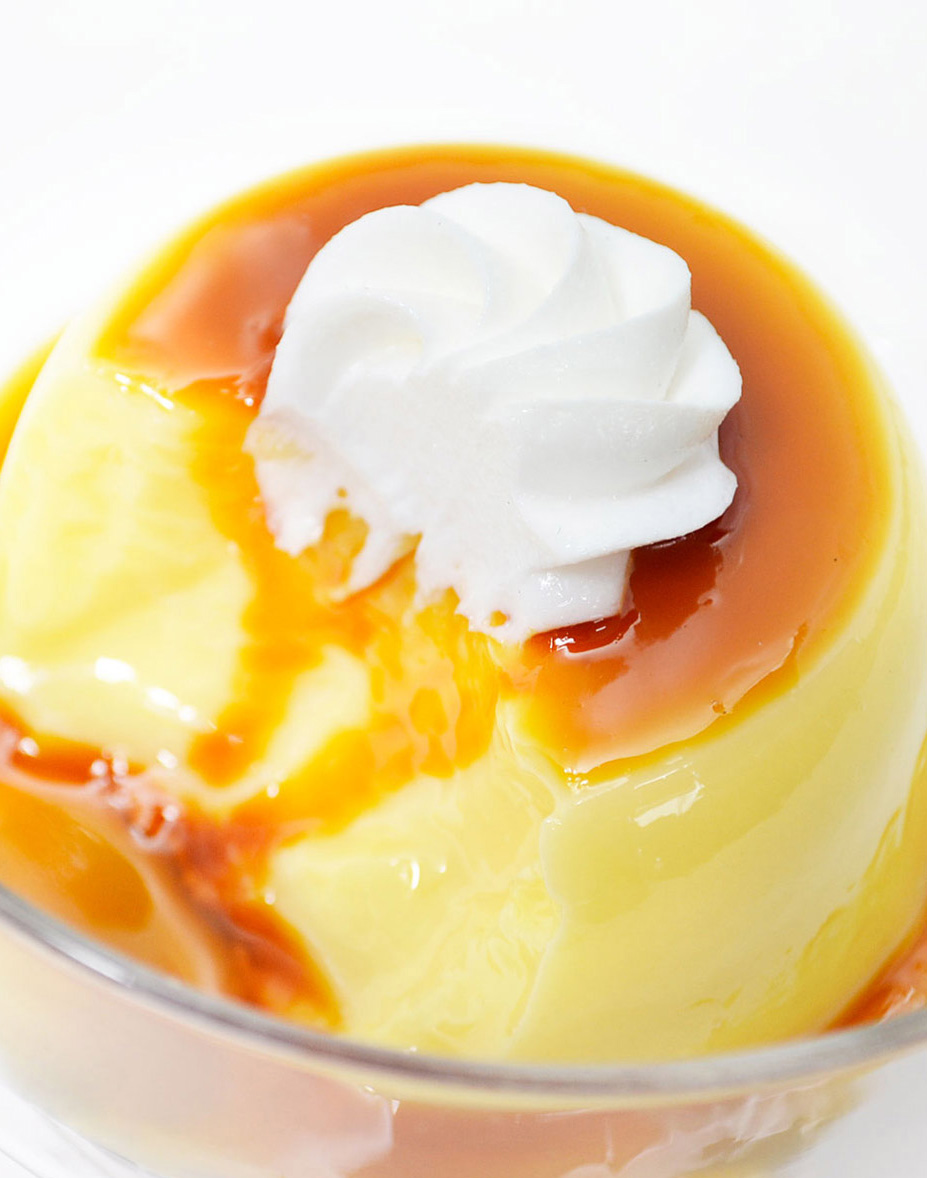
Vessel Praznitsi!
I was raised by my grandparents in Bulgaria, and was lucky enough to get to spend a lot of time in the kitchen helping my grandmother make all kinds of delicious meals for the family, including one of my favorites for the Christmas holiday – creme caramel. I was always in charge of beating the eggs, which I took great pride in, but mostly enjoyed hearing my grandmother tell stories about her upbringing and her own mother’s cooking. It was important for her to carry on certain traditions within our family, and spending time int he kitchen with her grandchildren was a cherished experience for her (as well as for me and my cousins). Although I live far away from her now, I know that when I visit her in Bulgaria again we will cook up a delicious storm! The hardest part about making the creme caramel was waiting to for it to cool – I never have enough patience because it it just oh so creamy and delicious!
Ingredients
7-8 eggs, not less
1 1/2 cup sugar
1 l milk, pasteurized
2 tsp vanilla sugar (or vanilla extract)
1/4 tsp cinnamon
Directions:
Beat the eggs, not less than 7-8 of them, with the sugar in a large bowl with a mixer, until they are foaming.
Pour in the cooled milk, previously pasteurized if using natural milk, the vanilla sugar and a pinch of cinnamon and beat again with the mixer until smooth.
Take small aluminum or steel cups that you will use as flan molds. Put 1 tbsp of sugar at the bottom of each cup and heat the cups quickly and carefully on the stovetop or in the oven, until the sugar melts into a brown caramel.
Then pour into each cup some egg mixture to fill it up, over the caramel .
Place together all the metal cups, or flan molds, in a deep baking dish. Add some water into the baking dish so to soak the cups all the way to 1 finger from the tops. This water bath, or bain-marie, is what will serve to cook your cremes in the oven.
Heat the oven to a low heat of about 150°C (300°F). Place the baking dish with the bain-marie around the cups in the oven and bake for about 2 hours. The water shouldn’t be boiling too strongly, as it will create bubbles in your cremes.
After about 2 hours, the tops of the flan cups should be golden brown. Remove the baking dish from the oven and immediately take out the metal cups from the water of the bain-marie. Let them cool aside or in the fridge before serving.
Want new articles before they get published?
Subscribe to Body Talk Below!